
For general editing purposes, I use the minimal editing tools available on iMac when you preview a photo. For Windows users, Photo Gallery, or free online editing websites (pixlr.com) can also work. Pixlr is a website that I use to add text, remove backgrounds, etc.
Step 1: Photograph on a sunny day with low wind.
Today's photo shoot took place in my backyard on a partly cloudy day.
 |
| I like to photograph my flowers on days with lots of sunshine. It's partly cloudy today with some wind, meaning that I can take photos in full light, and in shade. |
Step 2: Choose a background/back drop in a sunny location
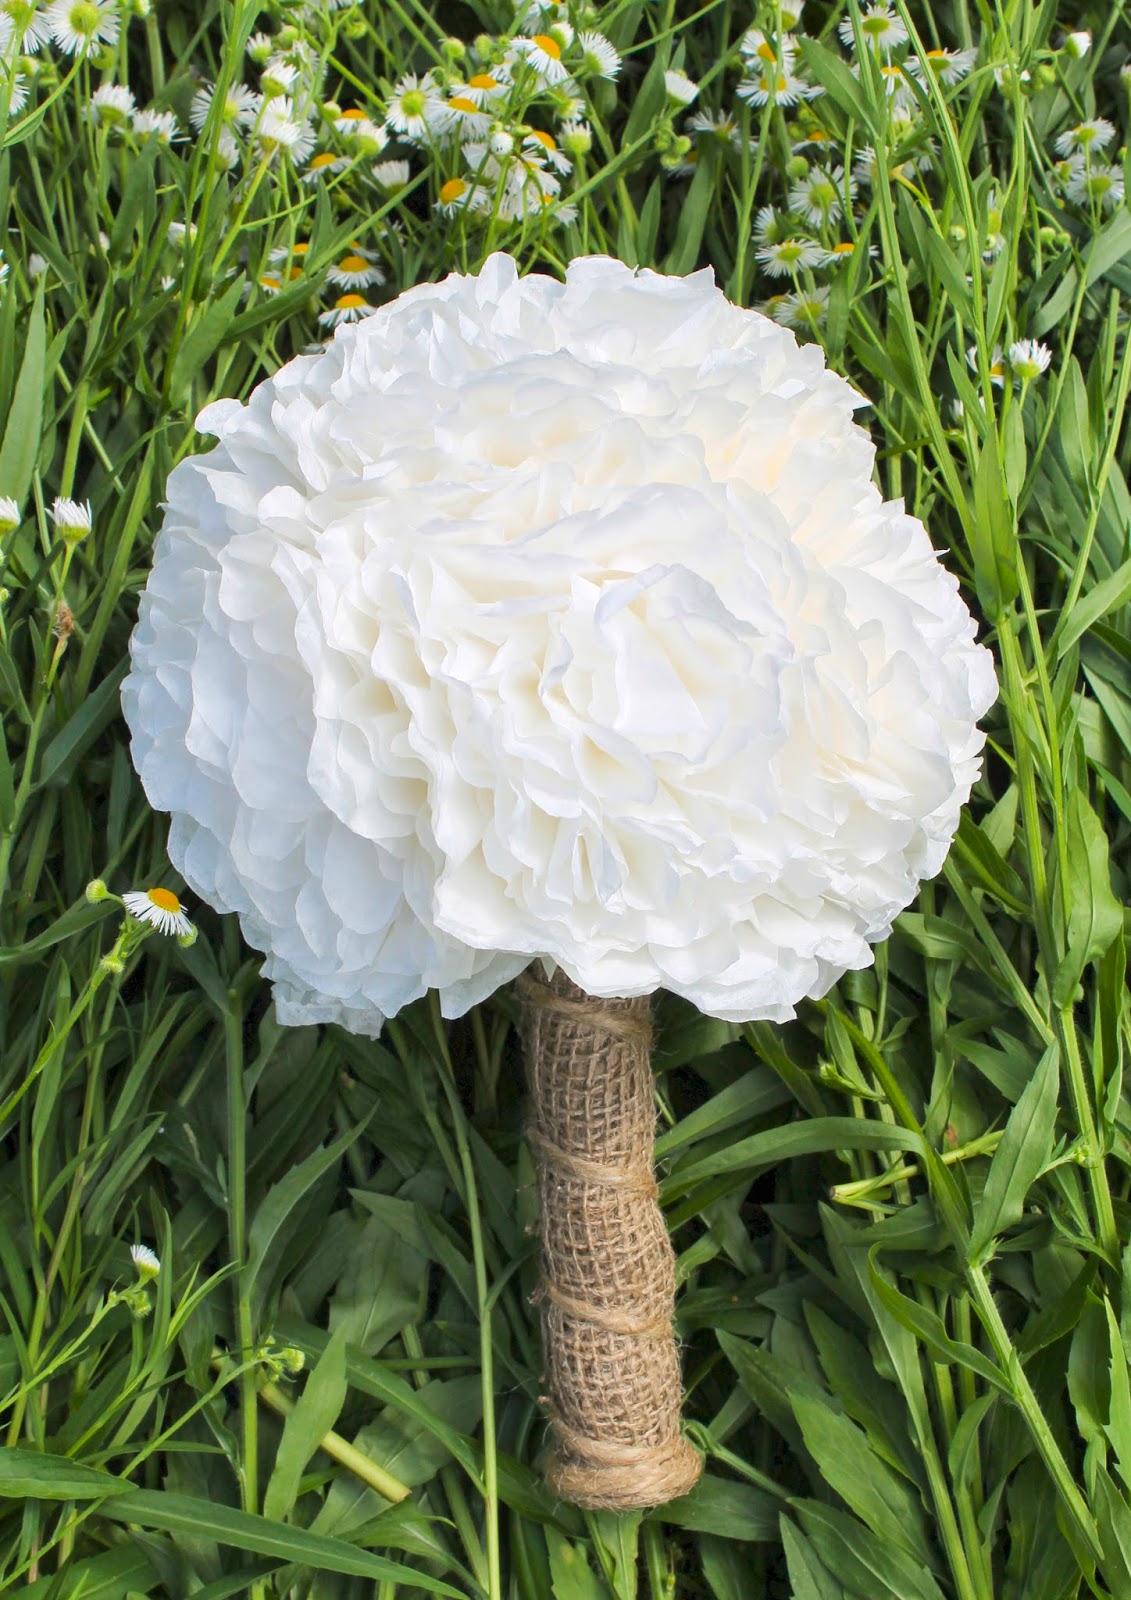
I photograph flower bouquets on their side, so I can either photograph them on the grass or I can create one. If the grass is really long, I will use it as a background, but today I'll be using these wild flowers I found.
 |
| I cut all of these wild flowers to about 3 feet and placed them in a neat pile on the ground. I like using flowers and grass as a background because they blend nicely with the natural fibres of the paper and burlap. |
 |
| I continued adding to this pile until I could not longer see through to the ground |
 |
| Centre the item in the shot and leave some space around it in the frame. This will give you room to crop if you need to. I usually take 3-4 photos of each item in different light and angles. Taking more than 5 photos of each item (unless it has a lot of angles) can be overwhelming when you edit them, so take only as many photos as you need, and delete the ones you don't like before you upload them. |
Before editing, make copies/duplicates of all the photos first so you can start over if needed.
First, I cropped this photo so that the bouquet is the centre of attention. Next, in the "Tools" tab, I chose "Adjust Color". A small menu will pop up if you're following along.
I increased the exposure slightly, took away some of the shadows and increased the contrast and saturation very slightly. As you make these changes, you'll be able to see what your photo looks like with each one.
 |
| This photo is brighter, the shadows have been reduced, and the colour around the bouquet has been intensified. |
Step 5: List your items
Once you have finished editing your photos, you can list your items. Make sure to keep some of your "raw" photos so that you can show what the items look like naturally without any editing.
Let me know if you have any questions about taking/editing photos!
-Morena


No comments:
Post a Comment